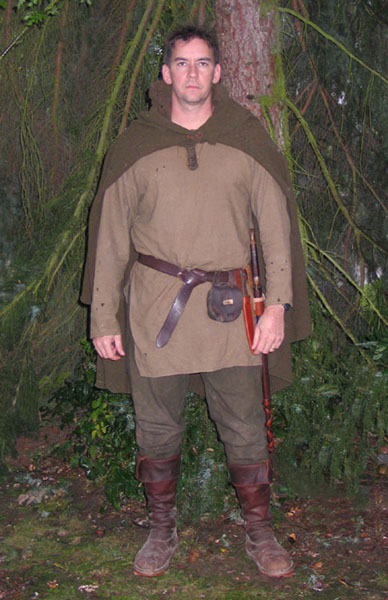
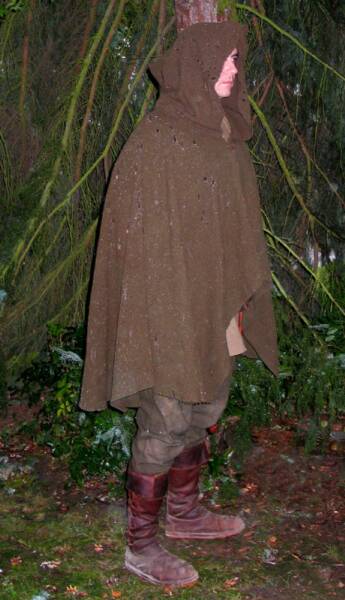
Watch CLoak
The Watch Cloak, by Andy M.
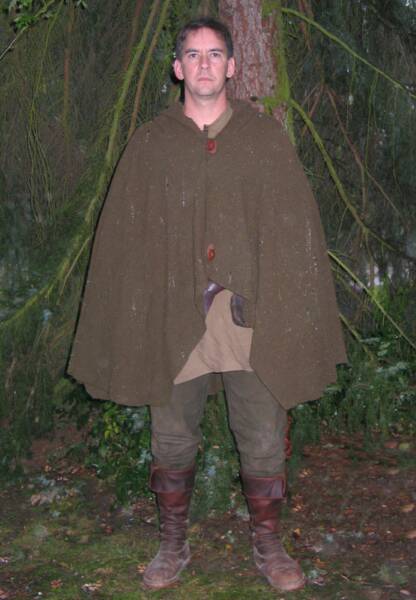
I made this short cloak one night before going out for an overnighter in fall weather. Tolkien seemed to love cloaks and hoods and I've always thought of cloaked figures when I think of the Fellowship. I like the idea of cloaks and I know they have their uses, but for a long cloak, moving in the woods is not one of them.
The body is a single army surplus blanket and for the one shown I used a separate piece to make the hood. I made one other and for that one I was able to use the one blanket for the cloak and hood.
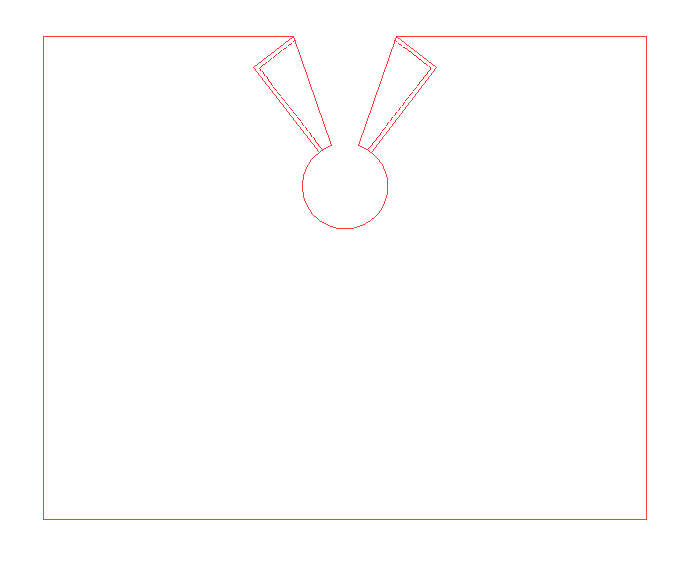
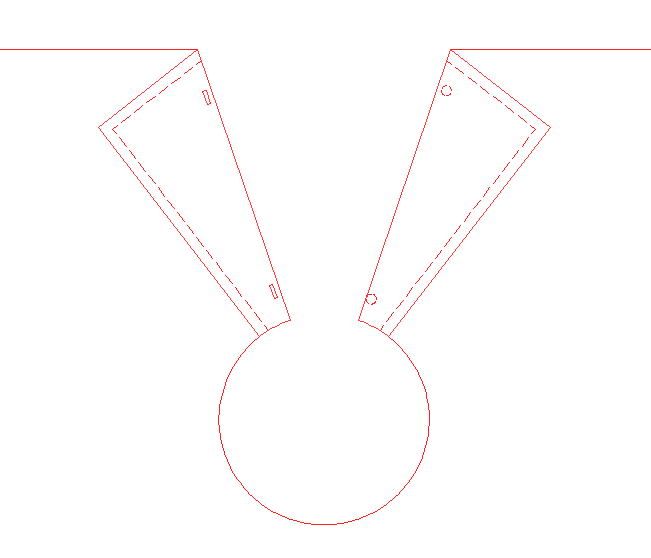
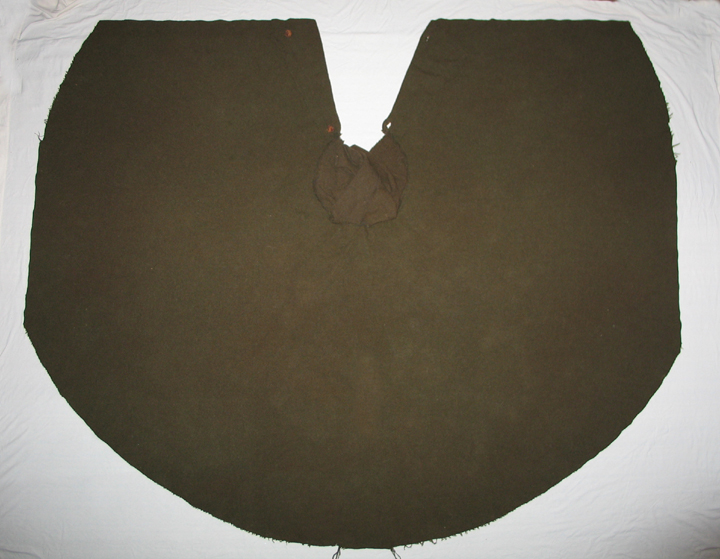
For the hood, use the same pattern as on the Basic Cloak Page. The original edges of the blanket used measure approximately 80" across and 66" top to bottom. The actual size of the wool piece you start with doesn't really matter as you will cut if to fit as you like.
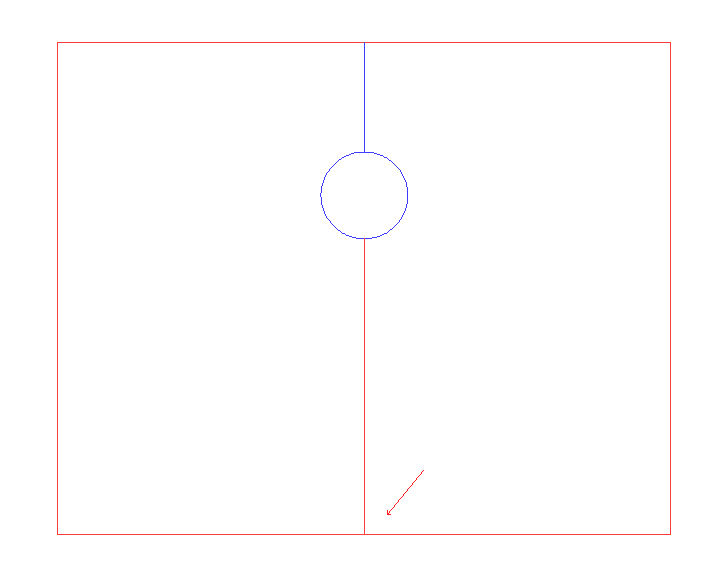
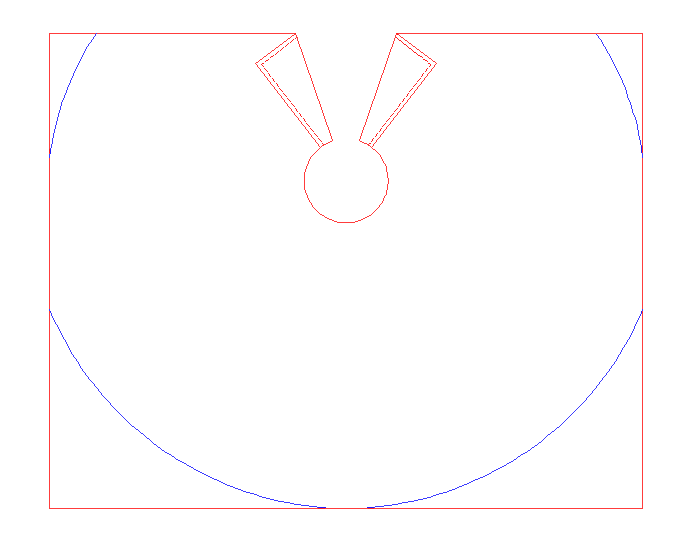
All the drawings below show the cloak with the inside facing up and the front edge on the top
First, determine how far down you want the front to hang. If you look at the above photo, my watch cloak comes down to just above the belt.
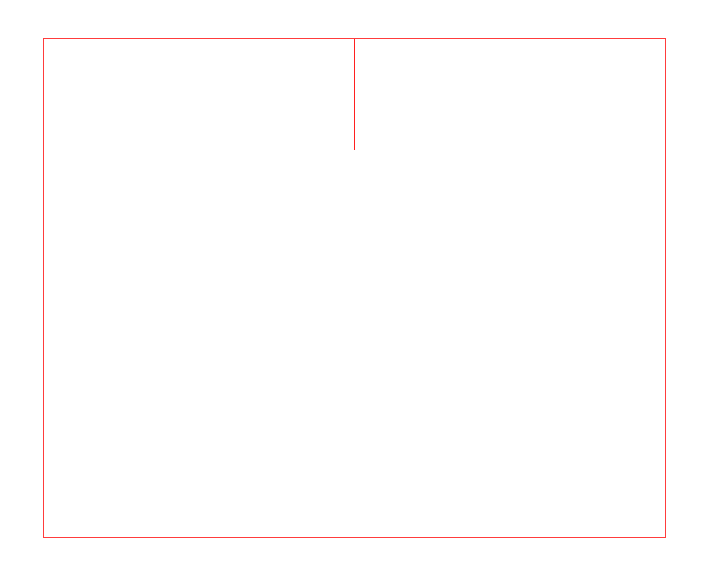 Next, measure from the front edge the amount you determined for the front length and from there make the neck hole. Start with about an 8" diameter for the neck. You can always make it bigger before adding the hood.
Make a straight cut from the neck hole to the front edge.
Put on the cloak and determine how far down to trim the back. I used the entire length for my cloak.
Back to the How-to page Back to the top This page was last updated: December 20, 2008 The Watch Cloak
I made this short cloak one night before going out for an overnighter in fall weather. Tolkien seemed to love cloaks and hoods and I've always thought of cloaked figures when I think of the Fellowship. I like the idea of cloaks and I know they have their uses, but for a long cloak moving in the woods is not one of them.
The body is a single army surplus blanket and for the one shown I used a separate piece to make the hood. I made one other and for that one I was able to use the one blanket for the cloak and hood.
For the hood, use the same pattern as on the Basic Cloak Page. The original edges of the blanket used measure approximately 80" across and 66" top to bottom. The actual size of the wool piece you start with doesn't really matter as you will cut if to fit as you like.
All the drawings below show the cloak with the inside facing up and the front edge on the top
First, determine how far down you want the front to hang. If you look at the above photo, my watch cloak comes down to just above the belt.
While wearing the cloak fold the edges of the front halves back so that they form a straight up and down closure when worn. STAND WITH YOUR ARMS OUT TO YOUR SIDES WHEN ADJUSTING THE EXCESS TO INSURE THAT YOU DON'T TAKE OFF TOO MUCH OF THE FRONT MATERIAL, THERE BY RESTRICTING THE FREEDOM OF MOVEMENT. Trim any excess and sew the hem to the inside.
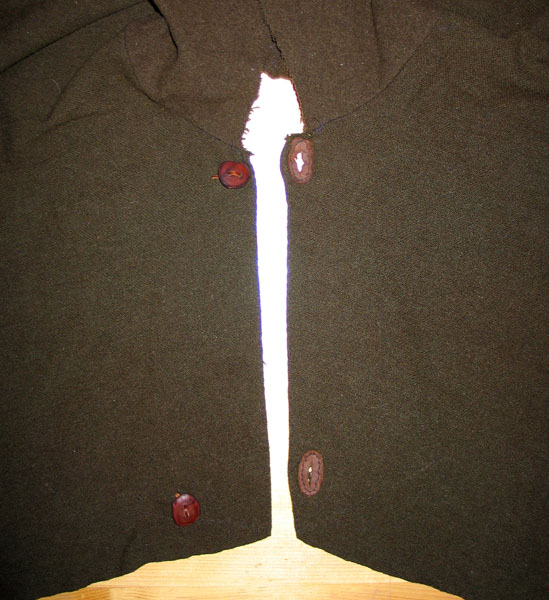
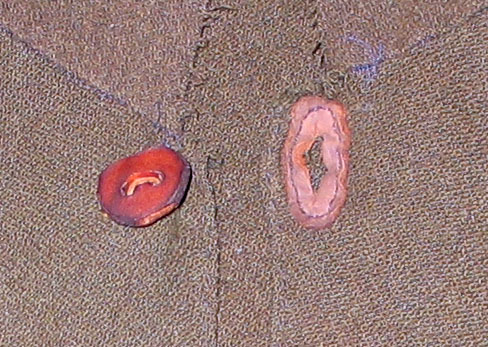
For the button holes I used a small leather oval sewed on the outside and simply made a cut through the leather and wool
Button is laced on with a leather backing in the inside of the cloak to prevent tearing of the wool
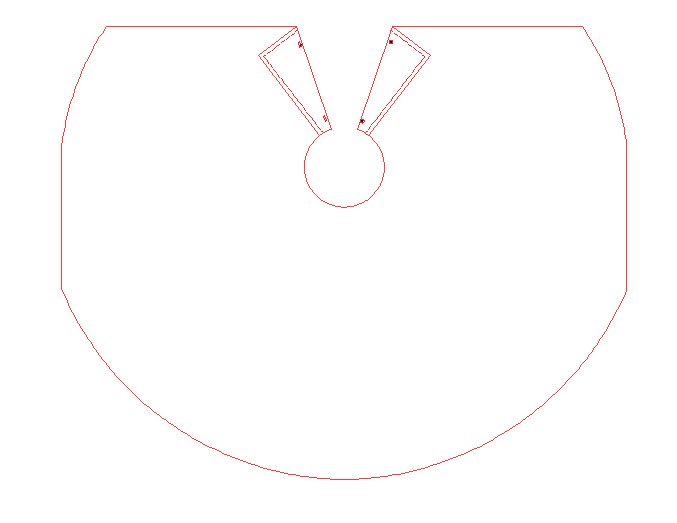
Again, while wearing cloak mark one side where you want to trim the outer edge length. Lay the cloak flat, fold in half and trim both sides. Make your adjustments to both sides until you are satisfied with the fit For both cloaks I cut the basic lines shown below
